
How to setup Spotlight.ai authentication with Okta
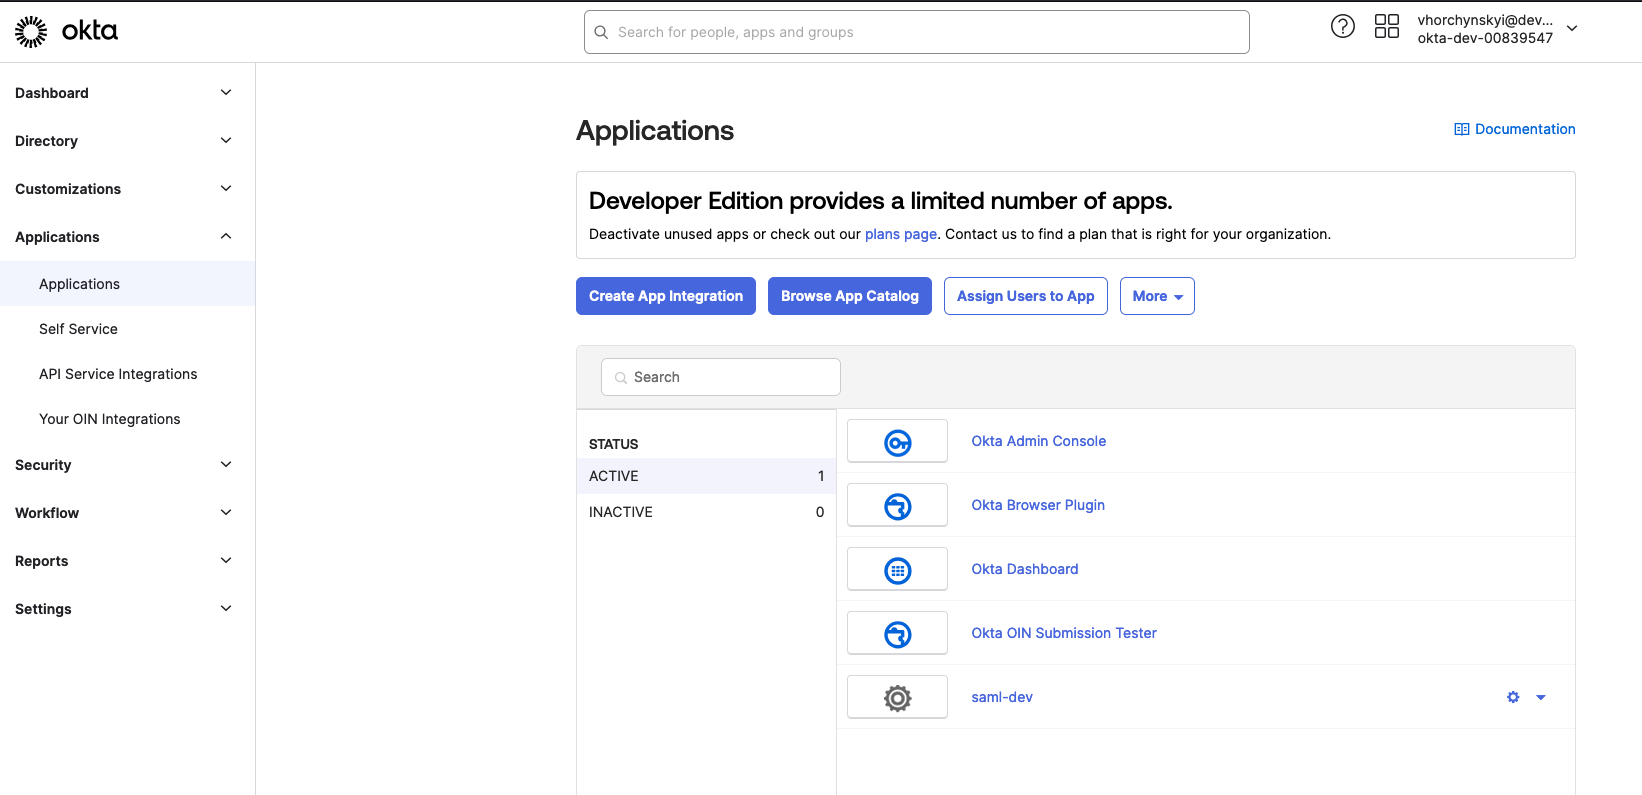
- In Okta as an administrator, navigate to Applications -> Applications and click Create App Integration.
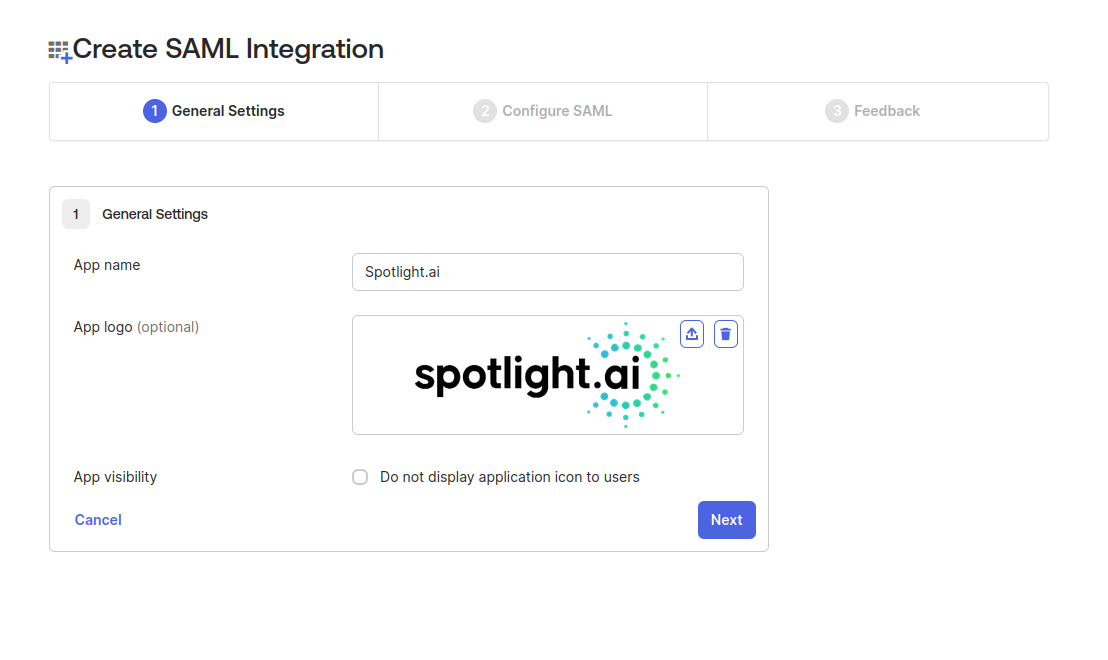
- In the Create SAML Integration dialog, set the App name to Spotlight.ai, App logo to https://spai-logos.s3.us-east-1.amazonaws.com/spotlight/Spotlight_BlackText_TransparentBG-Okta.png then click Next.

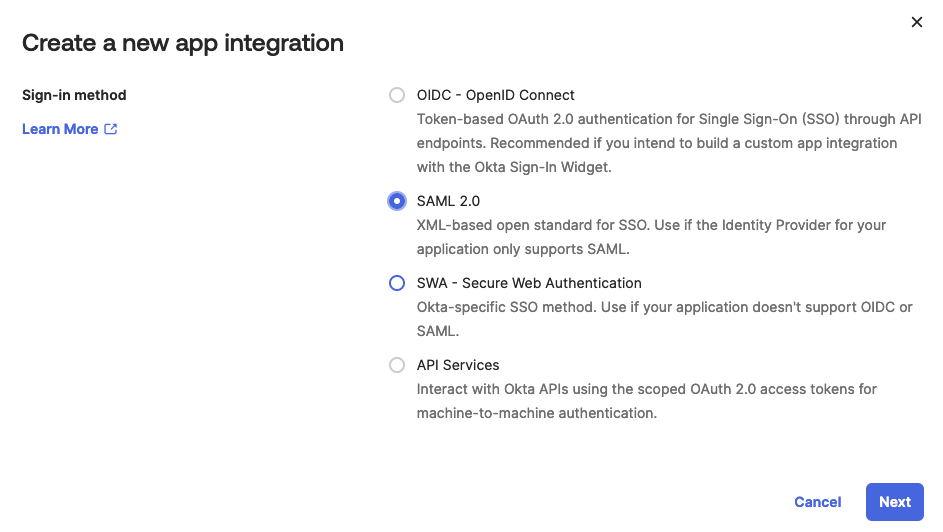
- Select the SAML 2.0 radio button then click Next.
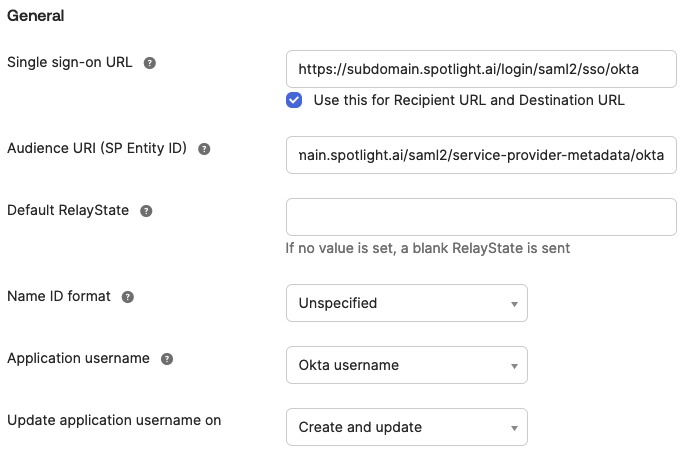
- On the General step, set Single sign-on URL to https://SPOTLIGHT_PROVIDED.app.spotlight.ai/login.saml2/sso/okta (replacing SPOTLIGHT_PROVIDED). Set the Audience URI (SP Entity ID) to https://SPOTLIGHT_PROVIDED.app.spotlight.ai/saml2/service-provider-metadata/okta.
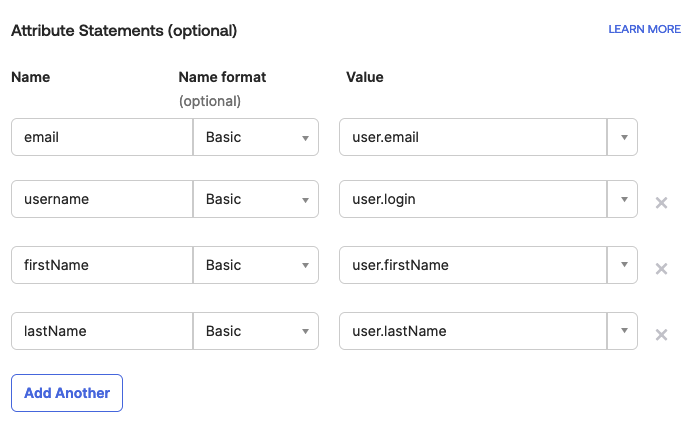
- In the Attribute Statements (optional) section, configure the following fields then click Next.
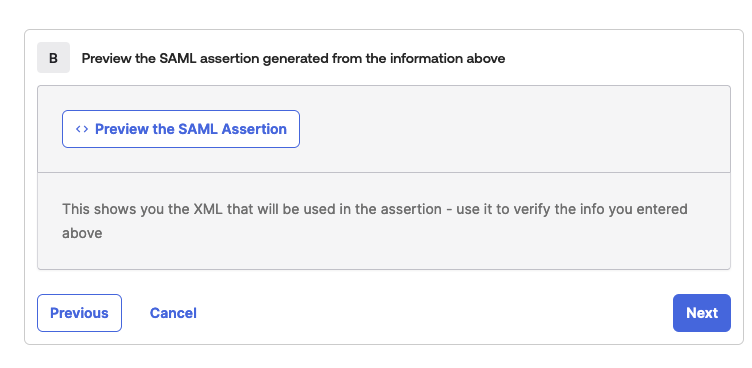
- On the Preview the SAML assertion generated from the information above, click Next.
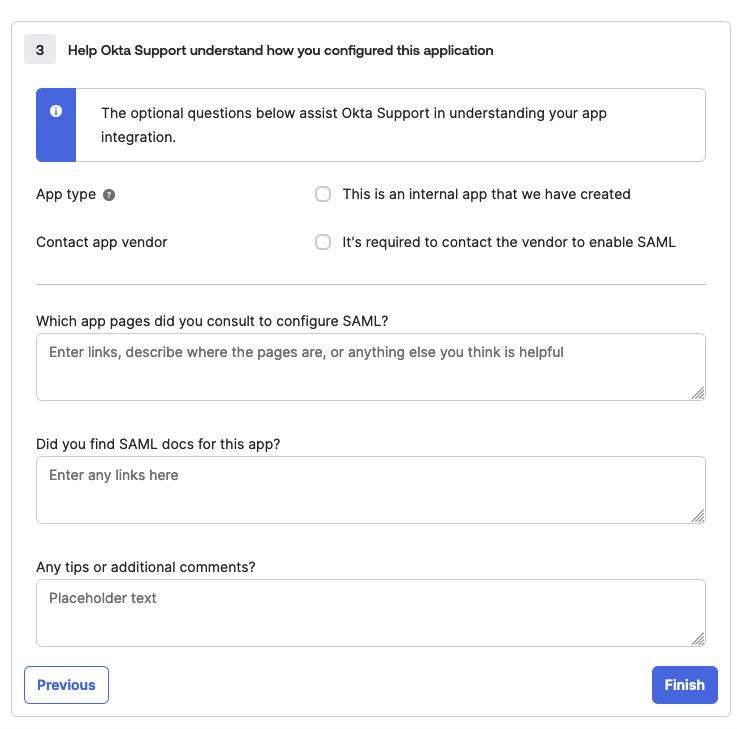
- On the Help Okta Support understand how you configured this application step, click Finish.
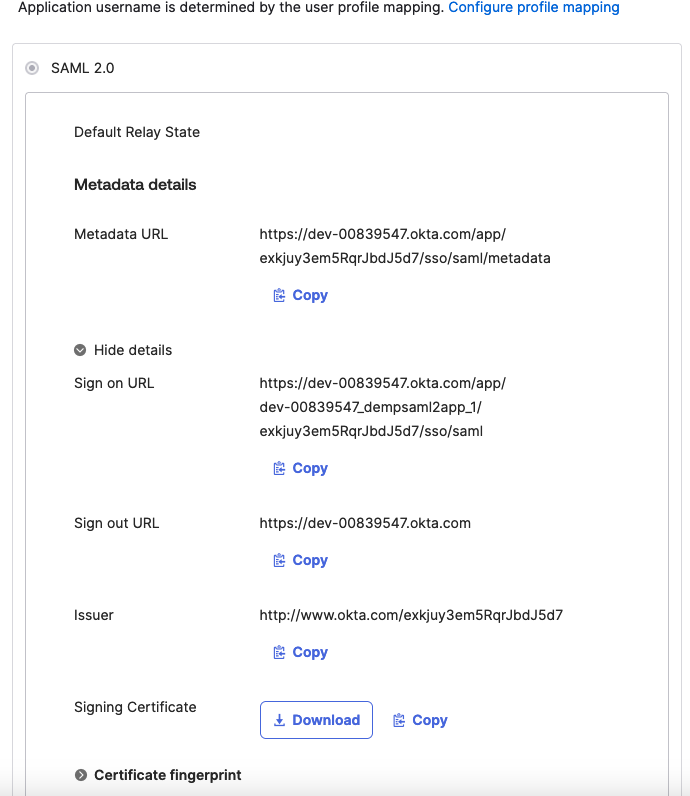
- Open the newly created app configuration, click Download next to Signing Certificate and send this and the Metadata URL to Spotlight.ai Support.
- After Spotlight.ai's Infrastructure team adds your Signing Certificate and Metadata URL, you will be able to access your website at https://SPOTLIGHT_PROVIDED.app.spotlight.ai for production environments and https://SPOTLIGHT_PROVIDED.stage.spotlight.ai for staging environments.