
Setting up the Microsoft Teams Connector
BETA
Spotlight.ai can automatically pull transcripts from your Microsoft Teams meetings for licensed users. It analyzes those transcripts to identify answers to the MEDDICC qualification questions from your sales playbook, assess participant sentiment, take meeting notes, and generate follow-up emails.
To know when your meetings take place, Spotlight.ai also includes an Outlook Calendar Connector. This lets Spotlight.ai see your meeting titles, determine whether a meeting is internal or external based on who's invited, and match attendees' names to their email addresses.
This article walks you through the full setup, which has three parts:
- Register the connector in Microsoft Entra — done once by an IT Administrator
- Grant admin consent — done once by an IT Administrator, so users don't each have to be approved individually
- Connect your Microsoft account — done by each individual user
What Spotlight.ai Can Access
Spotlight.ai connects to Microsoft on behalf of each individual user who signs in — it only ever sees data that user has access to. It does not have standing access to everyone in your organization; only users who individually choose to connect their account are accessible.
Part 1 — Register the Connector in Microsoft Entra
Who does this: An IT Administrator at your organization.
How often: Once per organization.
In this part you'll register the Spotlight.ai Teams Connector as an application in Microsoft Entra, configure its branding, create a client secret, and assign the required API permissions.
Create the App Registration
- Go to the Microsoft Entra App registrations page.
- Click + New registration.
- Set Name to
Spotlight.ai Teams Connector. - Under supported account types, select Allow all tenants (or choose a specific tenant if you prefer to limit access).
- Under Redirect URI, select Web from the picklist and enter the URL for your environment:
- Production:
https://app.spotlight.ai/oauth2/login/code/microsoft-transcripts - Stage:
https://stage.spotlight.ai/oauth2/login/code/microsoft-transcripts
- Production:
- Click Register.


Configure Branding & Properties
- Click Branding & properties in the list.
- Download the Spotlight.ai logo from this KB article above.
- Click Upload new logo and select the logo you just downloaded.
- Set Home page URL to
https://spotlight.ai. - Set Terms of service URL to
https://www.spotlight.ai/terms-of-service. - Set Privacy statement URL to
https://www.spotlight.ai/privacy-policy. - Click Save at the bottom of the page.

Create a Client Secret
- Navigate to App registrations on the left.
- Click the All applications tab.
- Type
Spotlight.ai Teams Connectorin the filter, then click the Spotlight.ai Teams Connector row. - Click Certificates & secrets.
- Click + New client secret.
- For Description, enter
Spotlight.ai Teams Connector. - For Expires, pick 730 days (24 months).
- Click Add.
- Immediately click the copy buttons for the Value and Secret ID — these will not be displayed again after you leave the page.
- From the Overview page, copy the Tenant ID.
Important: Store the secret Value, Secret ID, and Tenant ID securely. You'll provide these to Spotlight.ai to complete the connection. The secret Value cannot be retrieved again once you leave this page — if you lose it, you'll need to create a new secret.

Assign API Permissions
- Navigate to App registrations, then search for and select Spotlight.ai Teams Connector.
- Click API permissions on the left side.

Add the Calendars permission:
- Click + Add a permission.
- Under the Microsoft APIs tab, select Microsoft Graph.
- For "What type of permissions does your application require?", select Delegated permissions.
- In Select permissions, type
Calendarsto filter the list. - Expand Calendars and check Calendars.Read.
- Click Add permissions.
Add the OnlineMeeting permissions:
- Click + Add a permission again.
- Click Microsoft Graph, then Delegated permissions.
- Type
OnlineMeetingto filter the list. - Expand OnlineMeetingArtifact and check OnlineMeetingArtifact.Read.All.
- Expand OnlineMeetings and check OnlineMeetings.Read.
- Expand OnlineMeetingTranscript and check OnlineMeetingTranscript.Read.All.
- Click Add permissions.
Add the User permission (only if it doesn't already appear in the list of assigned permissions)
- Click + Add a permission.
- Click Microsoft Graph, then Delegated permissions.
- In Select permissions, enter
User. - Expand User and check User.Read (if not already selected), then click Add permissions.

Part 2 — Grant Admin Consent
Who does this: An IT Administrator at your organization.
How often: Once per organization.
Because OnlineMeetingTranscript.Read.All is a sensitive permission, an administrator must approve the application before any user can sign in.
- On the API permissions page, click Grant admin consent for [your organization].
- Click Yes to confirm.
- Confirm there is a green check in the Status column for each permission.


- Managing access later: After consent, Spotlight.ai appears in your Entra ID → Enterprise Applications list. You can review or revoke access from there at any time.
- Navigate to the link for the appropriate Spotlight.ai tenant environment. Replace VALUE_ID with the Value ID from Step 9 in Create a secret above
- Stage: https://login.microsoftonline.com/common/adminconsent?client_id=VALUE_ID&redirect_uri=https://stage.spotlight.ai/oauth2/login/code/microsoft-transcripts
- Production: https://login.microsoftonline.com/common/adminconsent?client_id=VALUE_ID&redirect_uri=https://app.spotlight.ai/oauth2/login/code/microsoft-transcripts
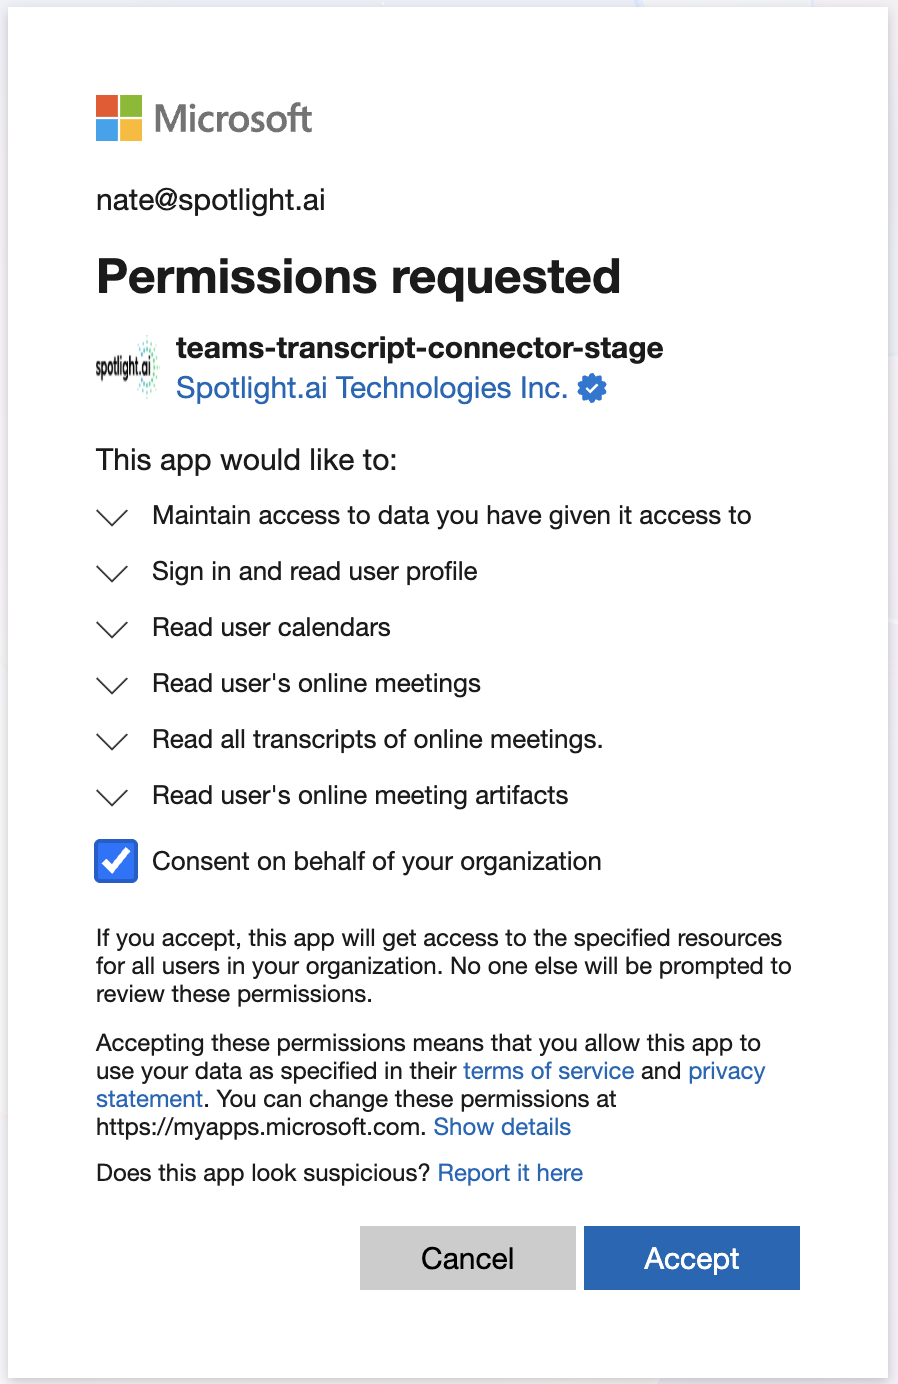
- Check Consent on behalf of your organization. This means you are consenting to make the application available to users in your organization. They still have to connect their individual accounts in the steps below.
Part 3 — Connect Your Microsoft Account
Who does this: Each individual user.
Authorizing the application for an individual user
- End-users navigate to the link for the appropriate Spotlight.ai tenant environment:
- Stage: https://stage.spotlight.ai/oauth2/authorization/microsoft-transcripts
- Production: https://app.spotlight.ai/oauth2/authorization/microsoft-transcripts
- This will trigger a Sign in Microsoft
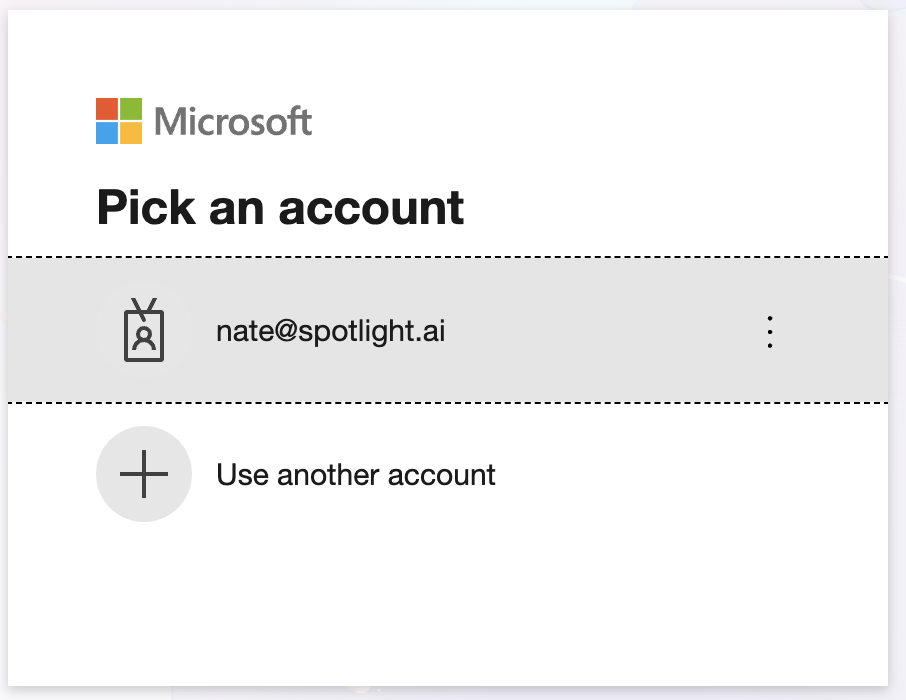
- The user needs authenticate (whatever options are presented as required by your organization) and then they will be presented with the list of permissions to their account that is being requested.
- Click Accept and the user will be signed in to Spotlight.ai and their account will be linked.
Do I have to do this every time? No. Once connected, you stay connected — Spotlight.ai refreshes your access automatically in the background. You'll only need to reconnect after an extended period of inactivity (typically around 90 days).
Troubleshooting
"I see a message that an administrator needs to approve this app."
Your organization hasn't completed Parts 1 and 2 yet. Contact your IT Administrator and ask them to register the connector and grant admin consent.
"I connected, but I don't see my meeting transcripts."
Transcripts are only available for Teams meetings where transcription was turned on. Make sure transcription was enabled for the meeting in question. If it was and you still don't see it, contact Spotlight.ai Support.
"I need to disconnect or revoke access."
Individual users can request disconnection by opening a ticket with Spotlight.ai Support. Administrators can revoke access for the entire organization from Entra ID → Enterprise Applications.
If you run into any issues during setup, please contact Spotlight.ai Support.